Author: admin

  • Brush Styling

    Brush Styling

    Steps of Brush Styling

    1. Start with clean, wet or damp hair
      Brush styling works best on freshly washed hair that is still wet or very damp.
    2. Apply curl product
      Use a curl cream or gel and smooth it evenly through your hair to provide slip and hold.
    3. Section your hair
      Divide your hair into small sections to make styling easier and to help curls clump together.
    4. Style with the brush
      Take one section and brush through it while gently rotating or pulling the brush to encourage curl formation.
    5. Release the curl
      Let the hair fall naturally after brushing so it can form a defined curl or wave.
    6. Repeat on all sections
      Continue brush styling each section until your entire head is complete.
    7. Dry your hair
      Allow curls to air-dry or use a diffuser on low heat and low airflow.
    8. Finish and fluff
      Once fully dry, gently separate curls at the roots if needed for added volume.

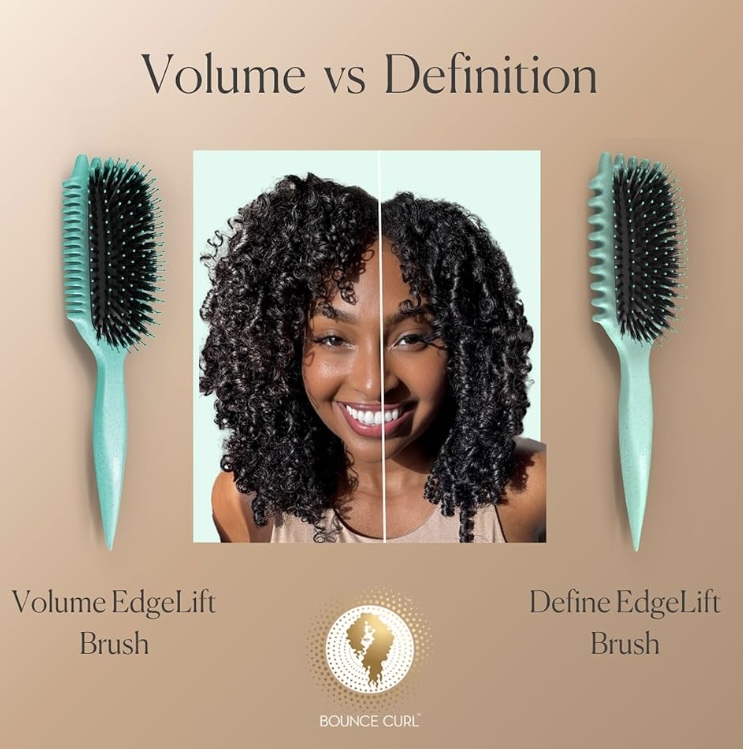
    The Bounce Curl brush is one of my favorite tools for brush styling because it makes defining curls so much easier. It helps clump curls evenly, reduces frizz, and creates bouncy, well-shaped curls without pulling or causing damage, making it a super useful brush for curly hair routines.
  • Finger Coiling

    Finger Coiling

    Steps of Finger Coiling

    1. Start with clean, wet or damp hair
      Finger coiling works best on freshly washed hair that is still wet or very damp.
    2. Apply curl product
      Use a curl cream or gel and smooth it evenly through your hair with your fingers.
    3. Section your hair
      Divide your hair into small, manageable sections to create more defined and uniform curls.
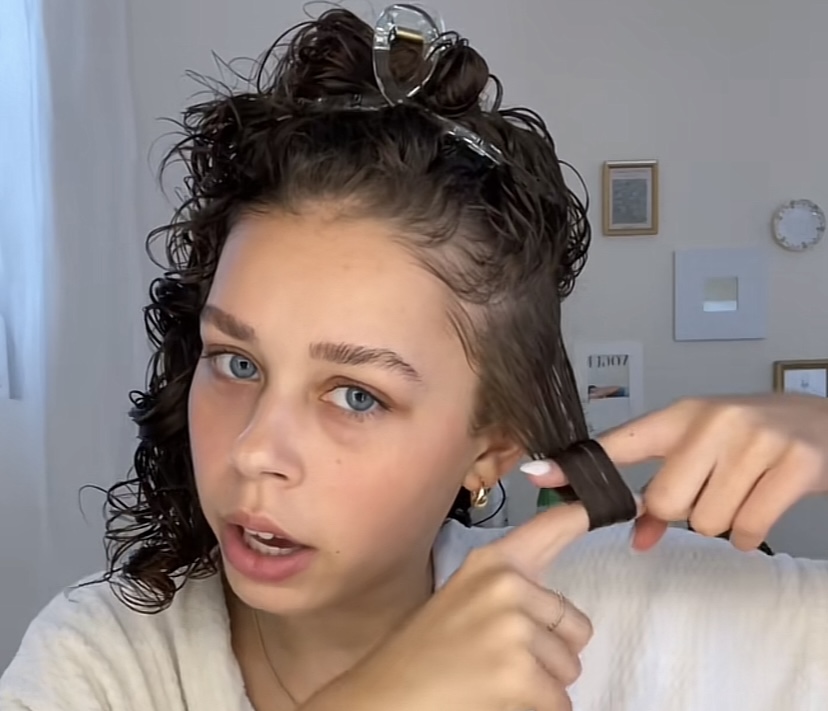
    4. Wrap hair around your finger
      Take one small section and twist it around your finger in the direction your curls naturally form.
    5. Gently release the coil
      Slide your finger out carefully and let the curl spring back into place.
    6. Repeat all over your head
      Continue coiling each section until all your hair is done.
    7. Let hair dry completely
      Allow curls to air-dry or use a diffuser without touching them too much.
    8. Separate if desired
      Once dry, gently separate curls with your fingers for more volume while keeping definition.
  • Scrunching

    Scrunching

    Steps of of Scrunching Curls

    1. Start with clean, wet or damp hair
      Scrunching works best when your hair is freshly washed and still wet or very damp.
    2. Apply curl product
      Use a curl cream, gel, or mousse and distribute it evenly through your hair using your fingers.
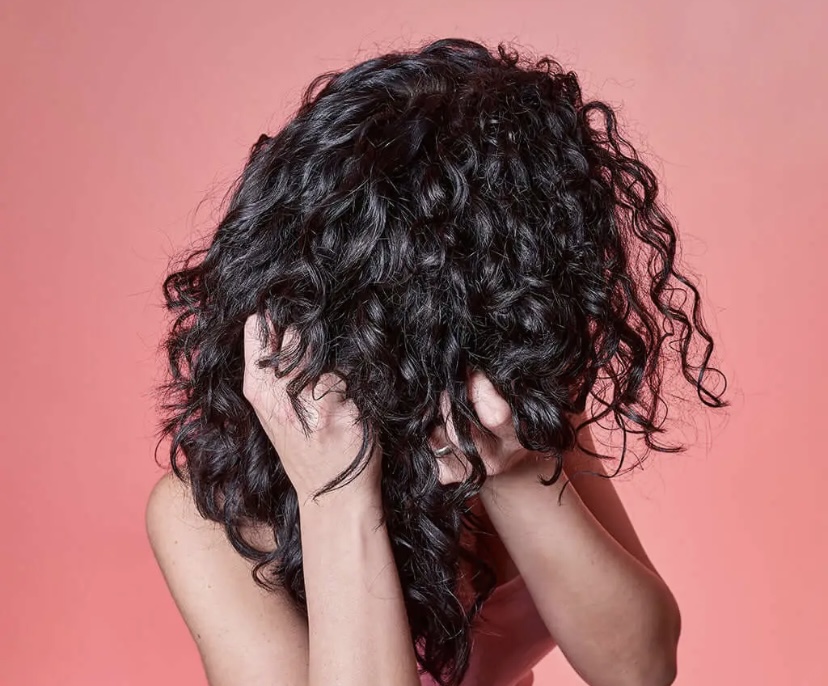
    3. Flip your head or tilt to the side (optional)
      This can help add volume, especially at the roots.
    4. Scrunch upward
      Cup sections of hair in your hand and gently squeeze upward toward your scalp, then release. Repeat all over your head.
    5. Remove excess water (if needed)
      Use a microfiber towel or cotton T-shirt to lightly scrunch out extra water without causing frizz.
    6. Let hair dry
      Air-dry or use a diffuser on low heat and low airflow while continuing to gently scrunch.
    7. Break the cast (if using gel)
      Once fully dry, scrunch your hair again with dry hands to soften curls and add movement.

    This method helps curls form naturally while keeping definition and bounce.

  • The Doux- Bee Girl Collection Setting Foam

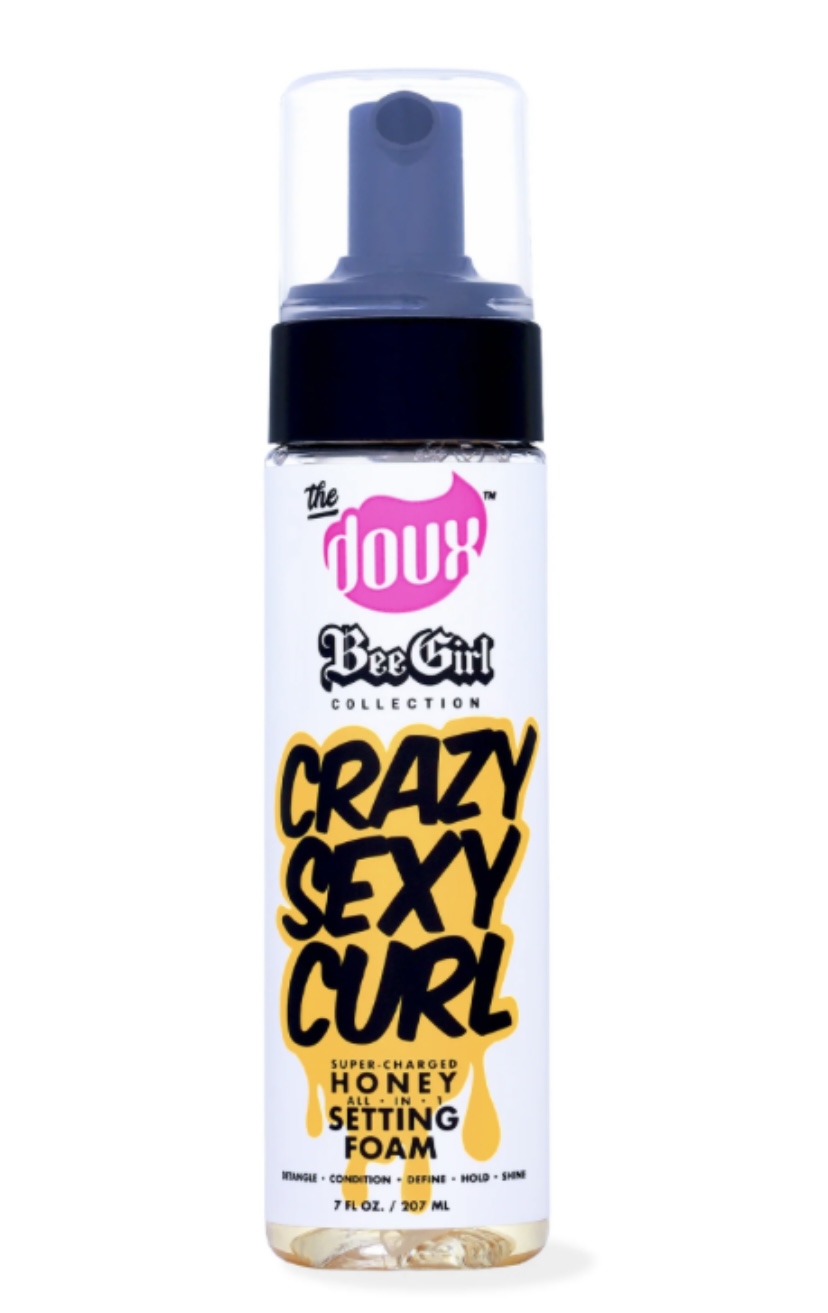
    The Doux- Bee Girl Collection Setting Foam

    Price – 14.97 – Found at Walmart

    The Doux Crazy Sexy Curl Foaming Mousse is a product I always recommend because it gives curls amazing definition without the crunch. I love how lightweight it feels while still giving a strong, long-lasting hold that works great for wash-and-gos, twist outs, and braid outs. It’s especially good for type 3 and type 4 hair because it helps curls pop while keeping frizz down and shine up. I like this mousse because it dries fast, layers well with other products, and leaves curls bouncy and soft instead of stiff

  • Pattern Beauty – Leave in Conditioner

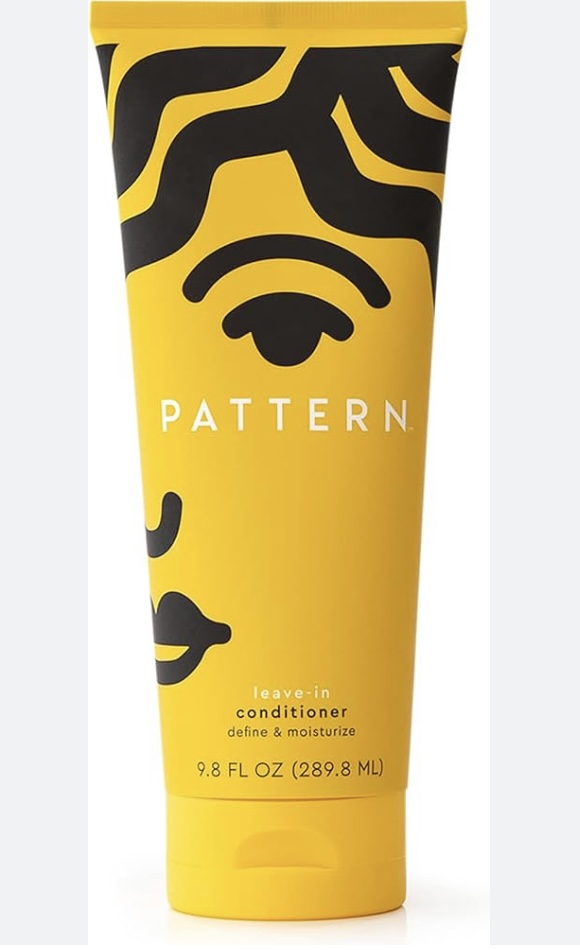
    Pattern Beauty – Leave in Conditioner

    Price – $29.00 – Found at Ulta Beauty

    The Pattern Beauty Leave-In Conditioner is one of those products I always keep on hand because it makes my curls feel so soft, hydrated, and easy to manage. It adds moisture without weighing the hair down and gives really nice definition, especially for tighter curl patterns. I recommend this product because it works incredibly well on type 3 and type 4 hair, giving curls and coils the slip, hydration, and shape they need. I love how it helps detangle, reduces frizz, and brings out each curl’s natural pattern. If you want moisturized, defined curls that feel nourished all day, this leave-in is such a good choice.

  • Rizos  Curls – Curl Defining Cream

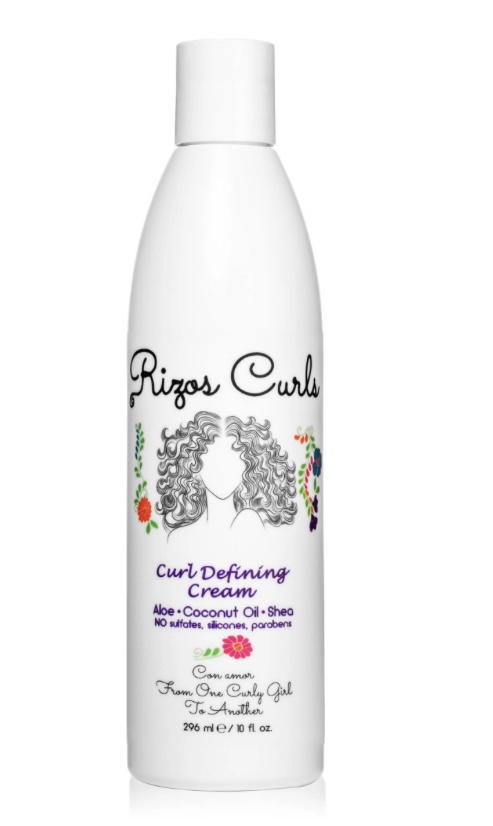
    Rizos Curls – Curl Defining Cream

    Price – $23.00 – Found at Ulta Beauty

    The Rizos Curls Defining Curl Cream is one of those products I always reach for when I want my curls to look their best. It gives curls a soft, bouncy, defined look without any crunch, and it adds the perfect amount of moisture to fight frizz all day. I recommend this product because it works especially well on wavy, curly, and coily hair that needs both hydration and definition. Personally, I love how it enhances natural texture while keeping curls soft and easy to style.

  • Curly Hair Do’s and Don’ts

    Curly Hair Do’s and Don’ts

    Caring for curly hair can feel overwhelming but the right habits make all the difference. These simple do’s and don’ts will help you protect your curls, reduce frizz, and keep your hair looking healthy and defined.

    Curly Don’ts

    • Don’t Brush dry curls
    • Don’t use heat often
    • Don’t skip conditioner
    • Don’t rub hair with towel
    • Don’t expect all curls to react the same

    Instead try these tips

    Curly Do’s

    • Do keep your hair moisturized
    • Do protect your curls at night
    • Do use leave in conditioner
    • Do style and define your curls while wet
    • Do get regular trims